
Creating a vector snow flake
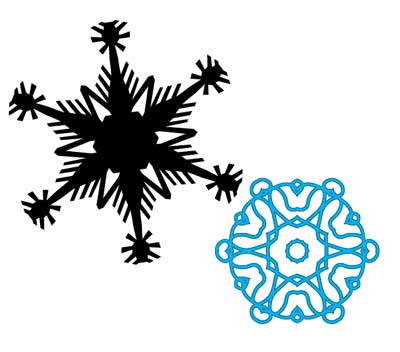
 This is a fun little project that was inspired by cutting snowflakes out of paper. In this tutorial, we will be working with Illustrator to create vector snow flakes - just in time too for the freezing temperatures! If you do not have access to Illustrator, you can also try InkScape which is a great open source program.
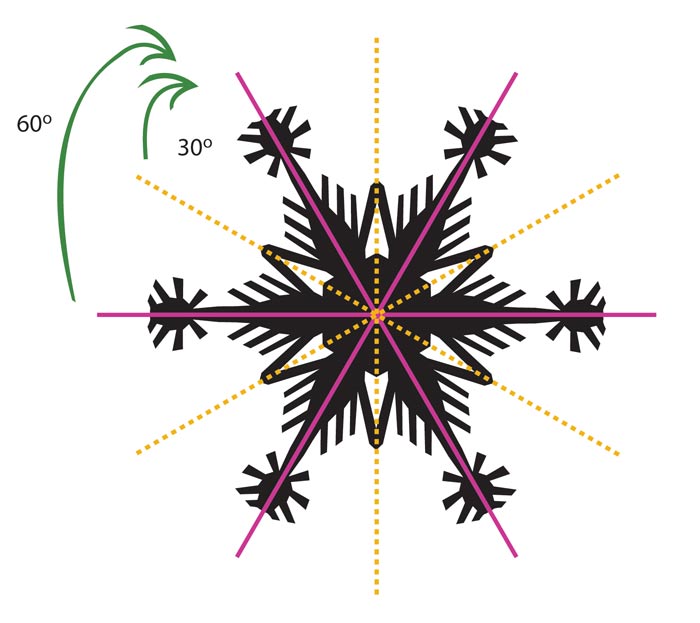
Our completed snowflake will need a number of 'spokes' (for lack of a better term) that divide into 360. For a 6 spoked snowflake, you will need six 60 degree spokes (6 x 60 = 360). For a 10 spokes you will need ten at 18 degrees, etc. The visual is below:
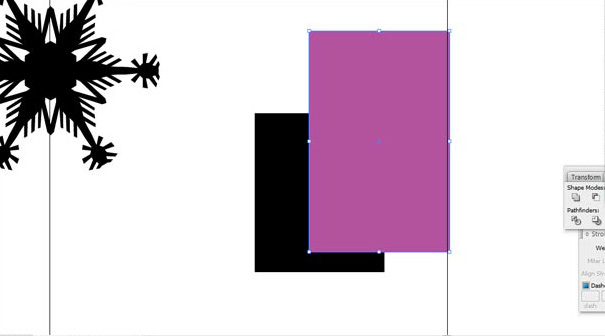
1.) First, create a rectangle or square
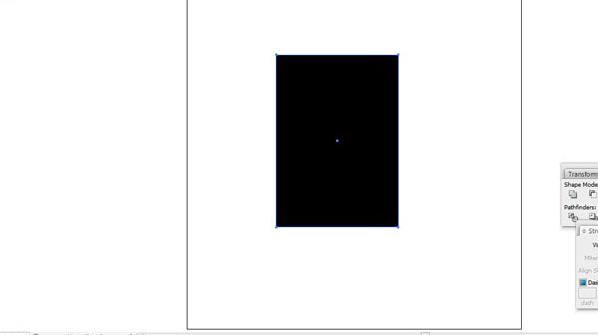
2.) Now, create a new rectangle which is longer than the first.
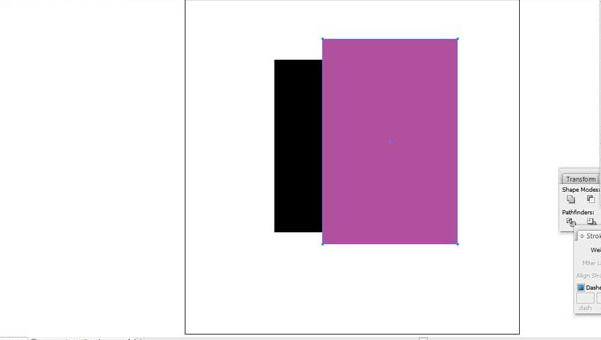
3.) In the transform option, rotate your new/top object to the desired degree. We will do a 6 spoked snow flake, so the total degrees need to be 60, and since our spoke is a mirrored image of itself we need to divide that number by 2 - so we'll rotate our top object to 30 degrees.
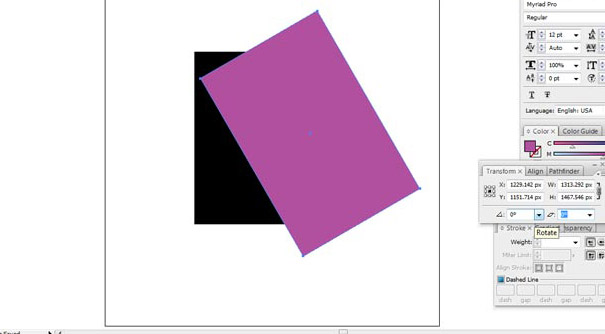
Make sure that your top object lines up with the corner of your bottom object and is large enough to cover the other end of your bottom object:

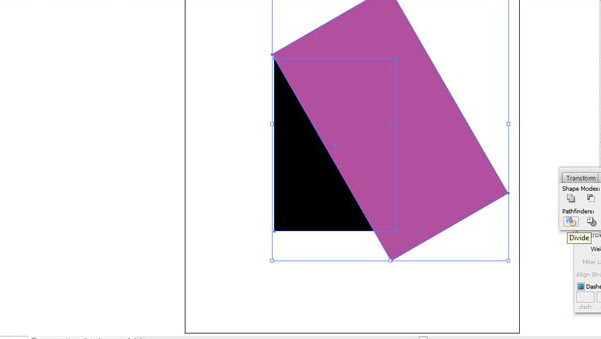
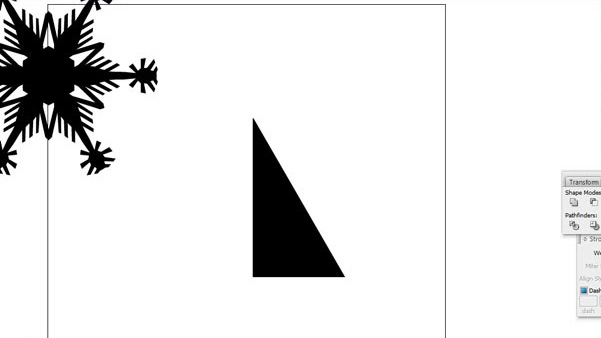
4.) Select both objects. In your pathfinder window, select 'divide' to break up your pieces.
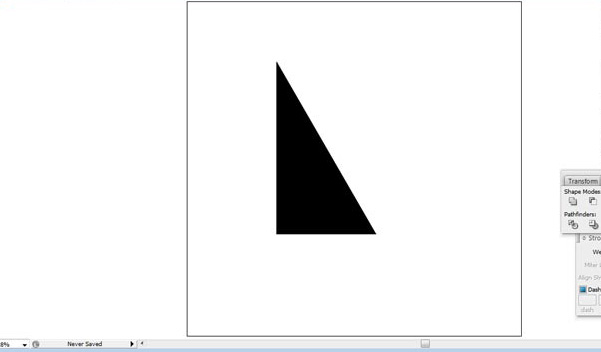
5.) Delete the top object. This should leave you with a triangle like the one below:
6.) For more shape, cut the bottom part of the triangle off at a slight angle. This can be done by penning a new object over your triangle. Select both objects again and divide.

7.) Delete the new object so it looks like the image below:

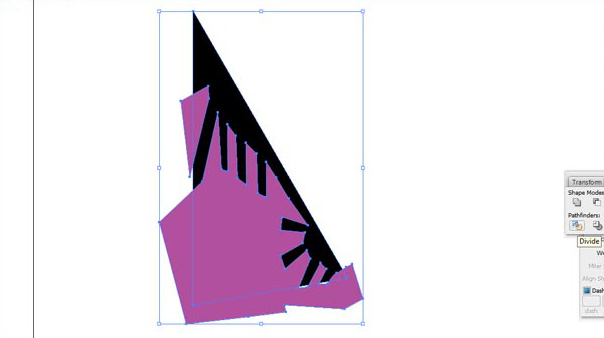
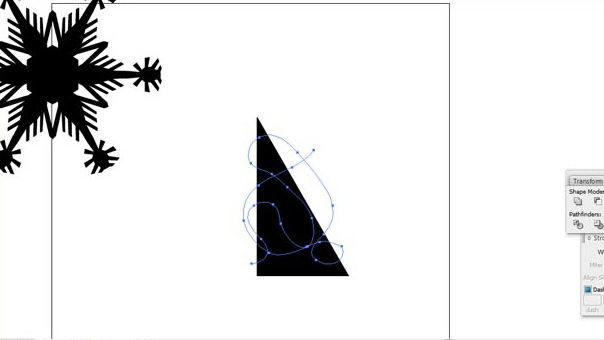
8.) It's difficult to tell at this point, but this is where the magic happens. Pen new shapes over your triangle, here's mine below:
9.) And as before: select and divide the objects:
10.) Delete the top object, leaving you with a silhouette of what's remaining of the triangle:
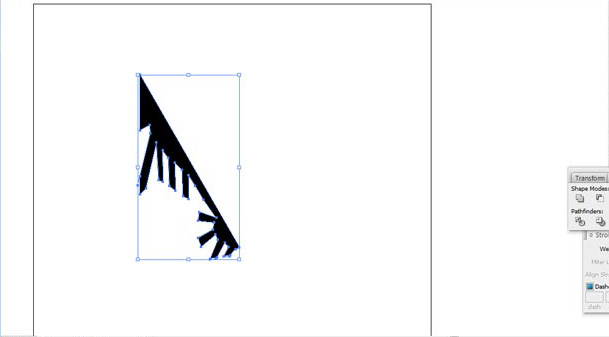
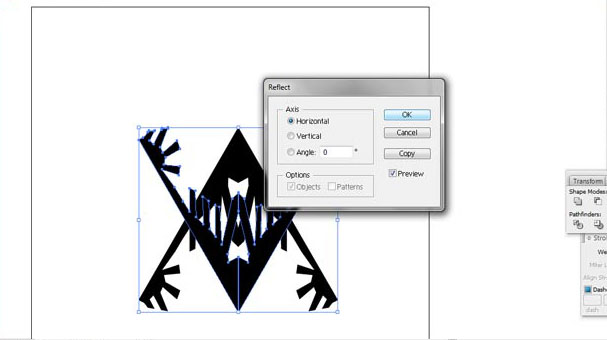
11.) Select your new shape and copy and paste it in place (ctrl C to copy ---- ctrl F to paste in place). Select Object from your menu, Transform and Reflect. Select 'vertical' and click ok. It will mirror your recent paste:
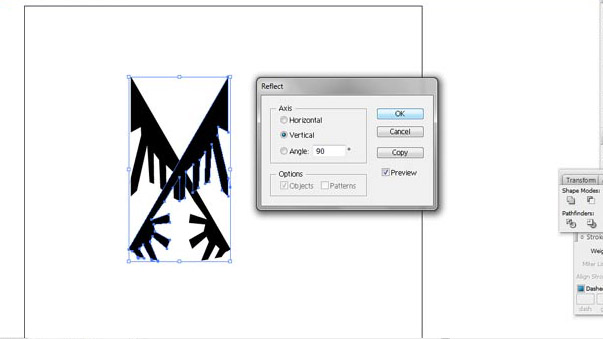
12.) Line your two objects up with top with align:
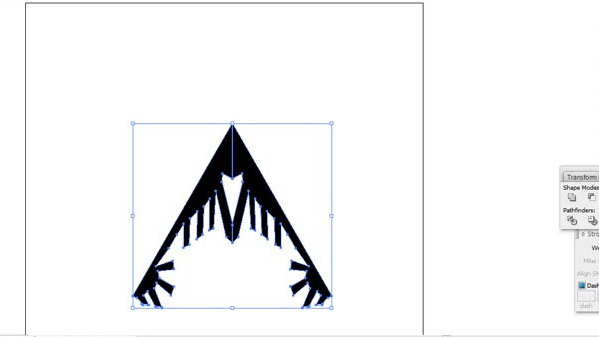
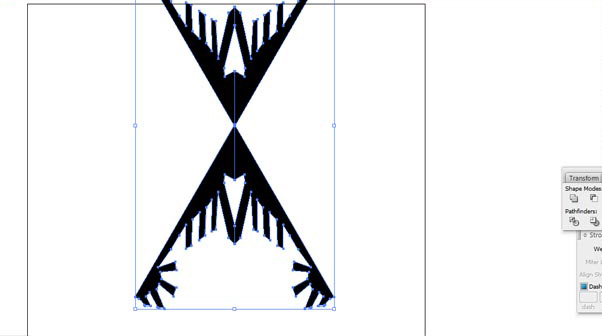
13.) Group (ctrl G) that object. This is your first snow flake spoke, now Copy (ctrl C) and Paste in front (ctrl F). In the menu, select Object, Transform, Reflect. This time reflect the new object that was pasted on the horizontal such as below:
14.) Move the two objects so they line up on the point. Use align horizontal vertical to center it. Group (ctrl G) these objects together:
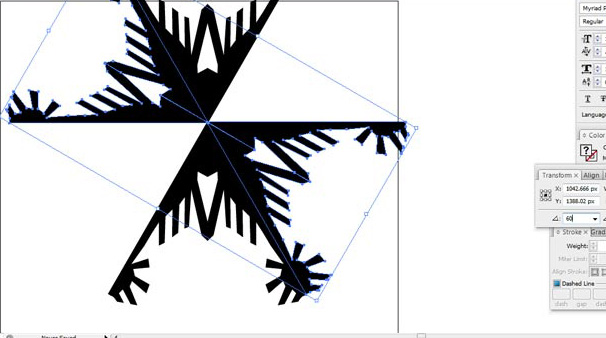
15.) Select the new group object and Copy then Paste in Front. Go to your transform window and rotate your new object by 60 degrees (half a spoke is 30 degrees, 2 spokes = 60 degrees).
16.) Repeat # 15.
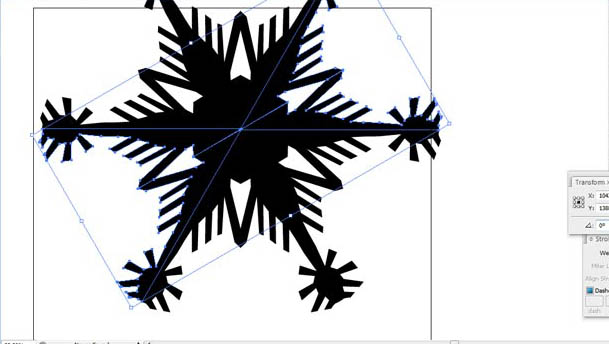
Now you have a full snow flake! In your pathfinder window you can merge your pieces together. And Wa la!
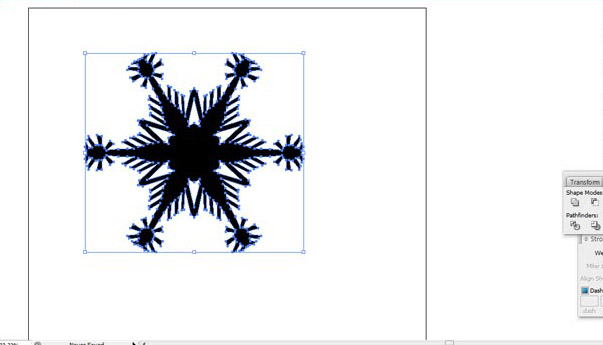
Now, lets try to make a different kind of snow flake. I'm going to use the same angles of 30, but you can try something different if you want. Lets make our first square object and place a new one on the board so we can get our proper angles:
Below you can see the triangle that was formed (follow the steps at the beginning if you missed how to do this part):
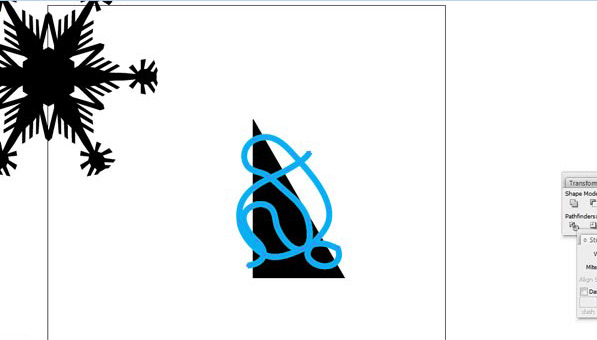
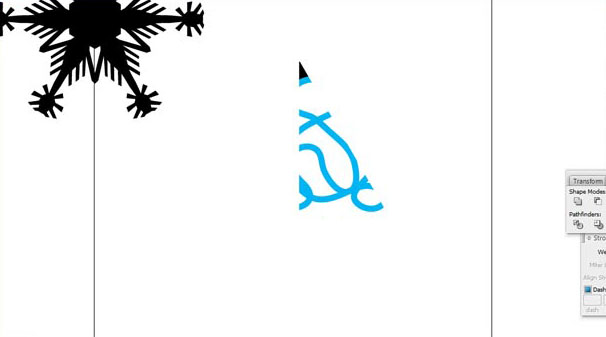
Using the pencil tool, draw some random curves:
Increase your stroke until it's thick, mines at 30 pt:
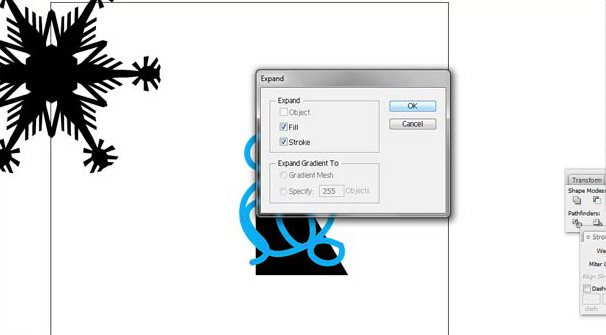
Expand your line (on menu, select Object,Expand):
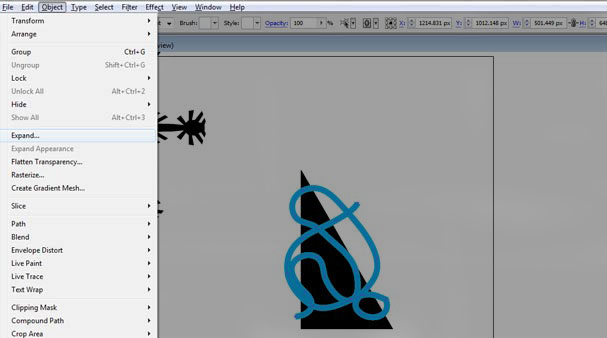
on the expand pop up, select OK to expand:
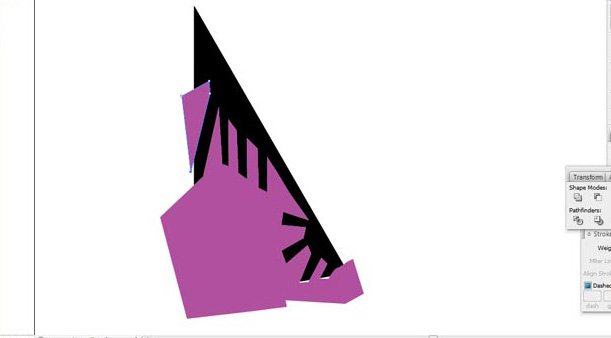
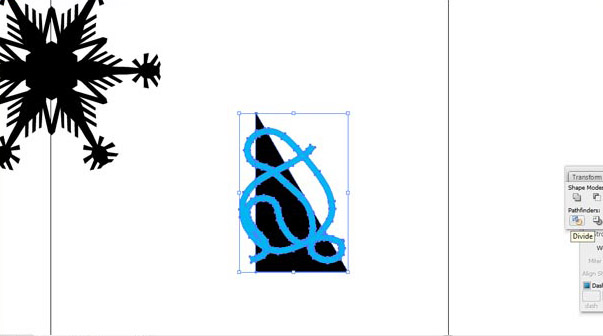
Select both your triangle object and your new line work object and Divide:
Delete everything except for the inner doodle of your stroke in the triangle (I did keep the triangle point to help me line the objects up later, but they do get deleted at the end):
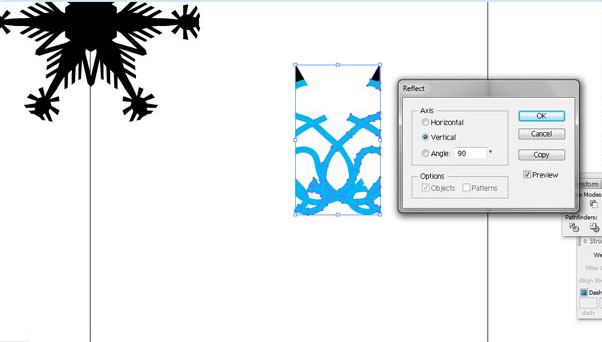
Copy and paste in front. Reflect the newly pasted object on the vertical:
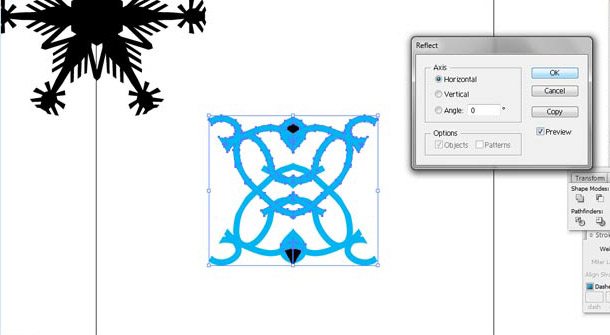
Align and group that object, then copy, paste in front and reflect on the horizontal. Line your object up like we did with the first snow flake (this part not shown). Remember to group them (will look like an hourglass):
Copy, paste in front, rotate 60 degrees:
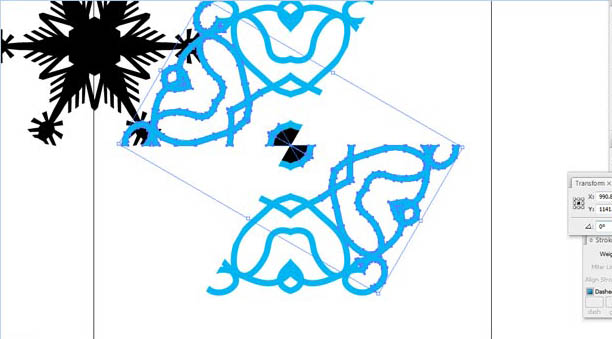
Repeat until it connects to itself.