Simple Tree Branch Illustration Tutorial

 This tutorial will show you how to create an easy, slightly abstracted, tree branch in Illustrator or similar vector program. If you do not have access to Illustrator, check InkScape. Alright, lets get started:
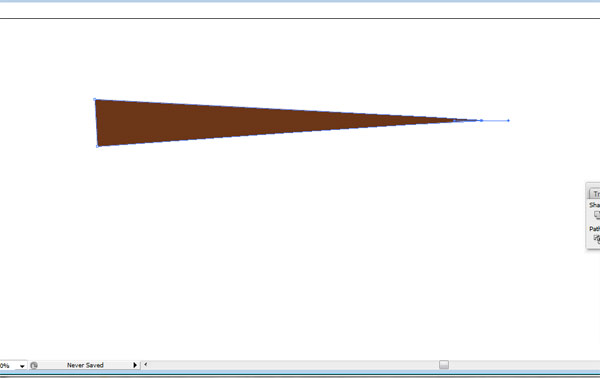
1.) Using the pen tool, draw an elongated triangle. I pulled the handles/arms out a bit on the longest point to give it a little more character, though you can leave it sharp if you would like.
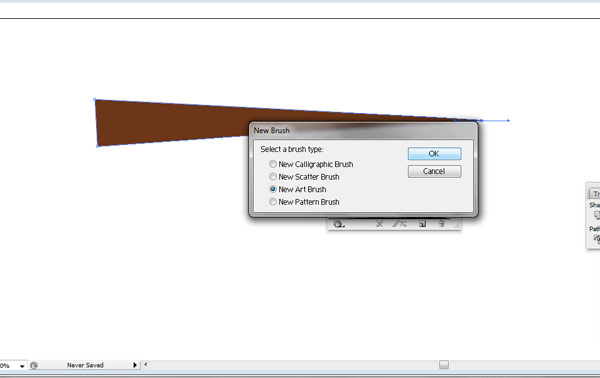
2.) Select your object; using the brush menu (Window/Brushes or F5), click the small additional menu tab near the top right. Select New Brush...

3.) Select New Art Brush.
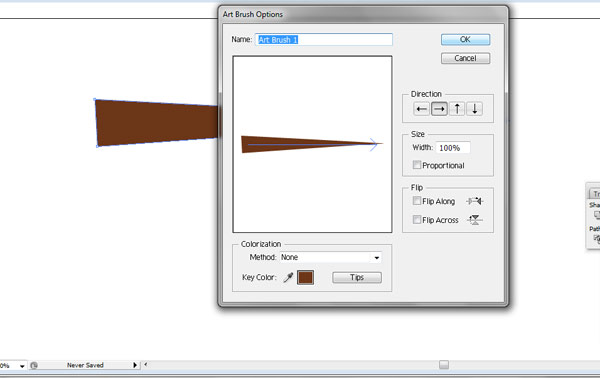
4.) When looking at the preview window, make sure that your arrow is pointing toward the longest point of your triangle. This will ensure that your branches face the correct way when paths are drawn from the main branch.
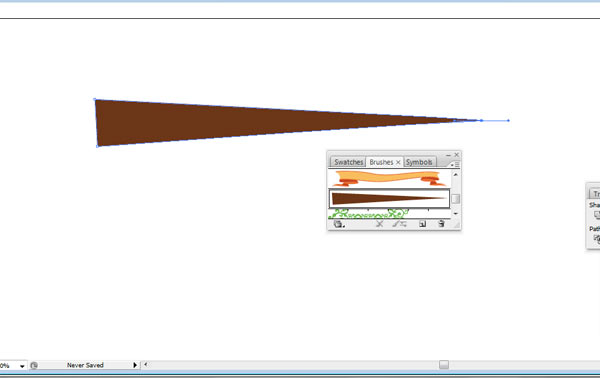
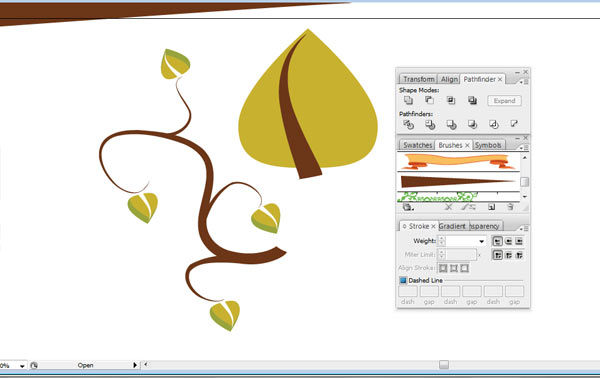
5.) You can see below that our new brush has been added to the Brushes Panel/Window.
6.) Start your branch from the base using the pen tool. As you draw it, make sure that you go from the base out to where you want your tapered edge to be.
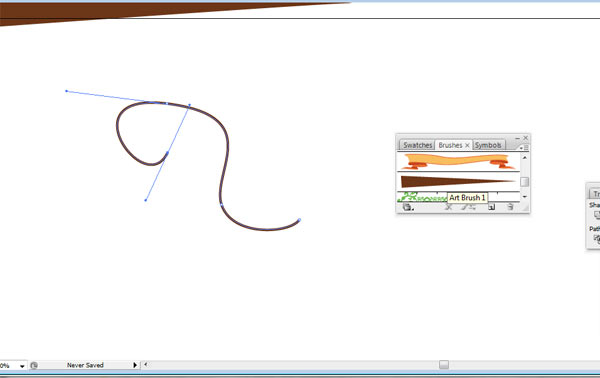
7.) With the path selected, choose your new brush from the menu:
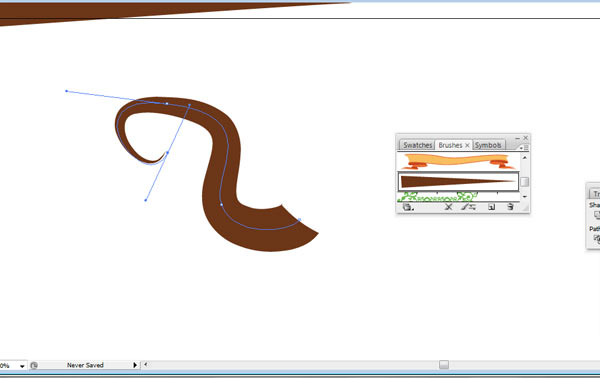
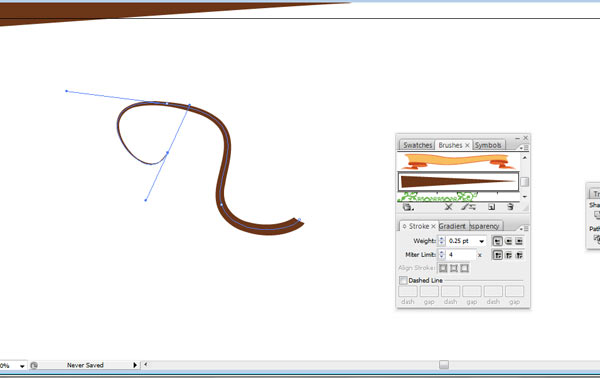
8.) To make the branch thinner or thicker, open the Stroke Menu (Window/Stroke). By default, the line weight is 1 pt - I changed mine to .25 pt, though you can pick a weight that visually best fits your path.
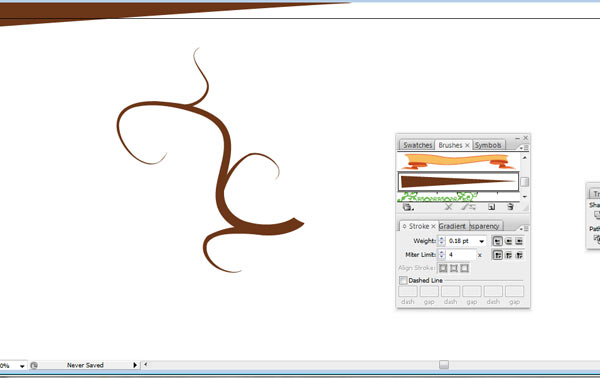
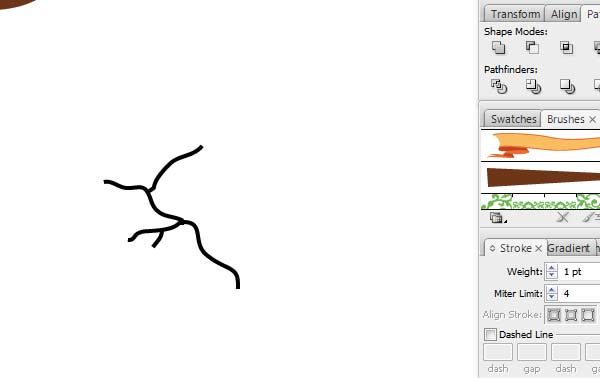
9.) Continue to new draw paths leading from your main path out. As you draw your paths, select them and apply the same brush as before - though this time, your weight will be significantly lower than the original (.25 pt). Below I have drawn 3 paths.
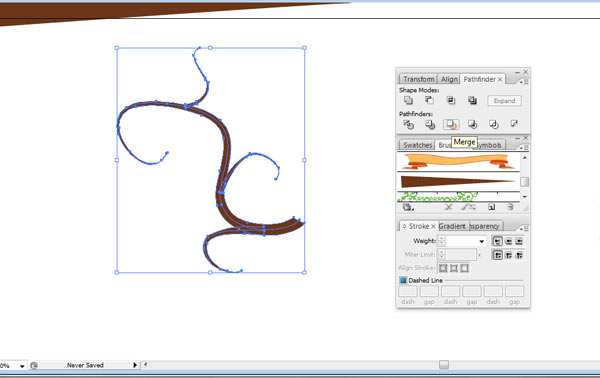
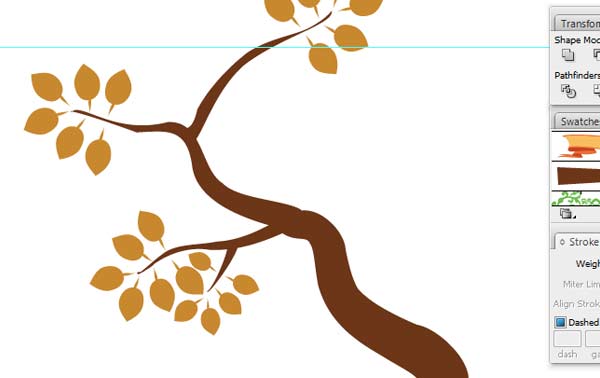
10.) After my branch was completed, I selected all the objects used to create the branch and Expanded (Object/Expand - select OK on both the line & fill) my branches & twigs as well as Merged (Window/Pathfinder - Select the Merge button as shown below) after the expansion. Now you have one object or branch.
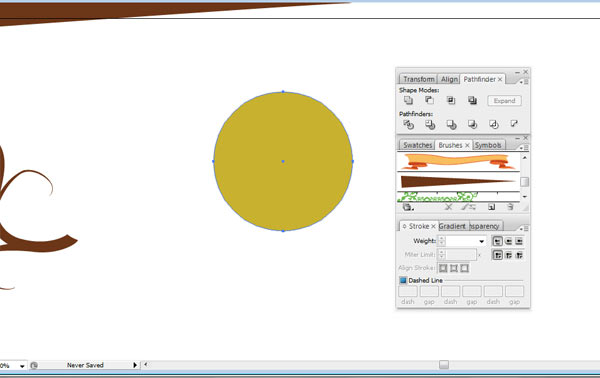
11.) Move our branch aside for a moment, lets make some leaves to add. Create a circle (to get a perfect circle, hold down the Shift key while drawing your circle path).
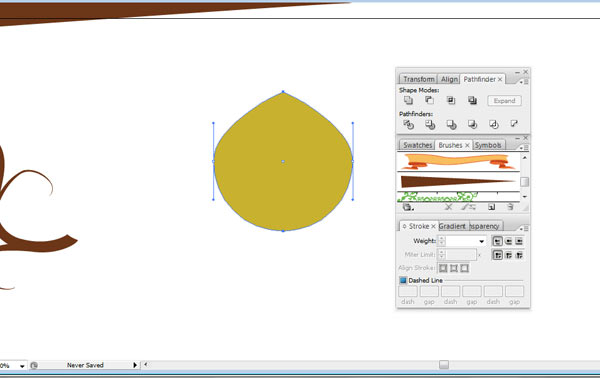
12.) Select the top point of your circle and pull the handles / arms in to create a point, as below:

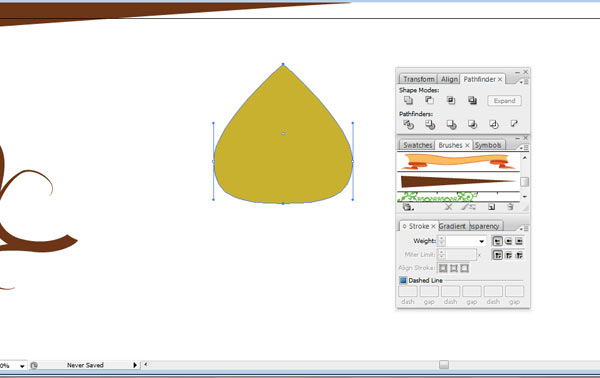
13.) Select both the top & bottom points:
13.) Using the up arrow on your keyboard, move the points up until you have an abstract leaf shape:
15.) You can see my leaf below, I added a path and used the same brush we have been working with - this will act as the vein of the leaf in my case. I expanded the vein path and then selected both the leaf and the vein, then divided the objects with pathfinder (Window/Pathfinder - select the divide button). Using Direct Select Tool (the white pointer from the main Illustrator panel), select only the brown vein and delete it. You should be left with a leaf that looks similar to the ones I have attached to the branch below.
16.) You can also make your branches more ridged by using the pencil tools to draw your paths instead of the pen tool:
17.) I used the same brush as from earlier and added different leaves:
With enough time and effort, you could create a whole forest of trees & branches. Thanks for reading!
Article By: Jane

Advertisement
Advertisement

Gaming
Chip: Mouse pad with wrist rest Gel Mouse Mats at zazzle.com
Advertisement